I love cooking and baking and I love letting my hands do the work – i.e I don’t always follow recipes to the exact millilitre!! I prefer to put ingredients together based on how I think they will taste. Below I will go through a step by step to some “every times a winner” cookies! (Psst notice the beautiful background behind the baking?! Check out Styling Backgrounds Brisbane for more! #babybuisness)
Step 1
Gather your ingredients and tools. And if you’re anything like me, you’ll remember some more half way through the recipe. (Missing from this photo are a mug, and the cookie cutters and baking tray). Preheat your oven to 180*.
*see step 7

Step 2
Now that you’ve finished laughing at the “Plain Flower”, mix around 1/2 a cup caster and brown sugar. (For a more traditional style, use only caster sugar and round it up to 3/4 cup)

Step 3
Melt 150g of butter and mix in, along with 1 egg. You could also use margarine, but it’s Christmas so … I suggest butter. This is where you can get fancy! I added in 1/2 a teaspoon of vanilla bean essence, but you could also add in peppermint, caramel concentrate, lemon flavouring, or even some Irish cream! 😉


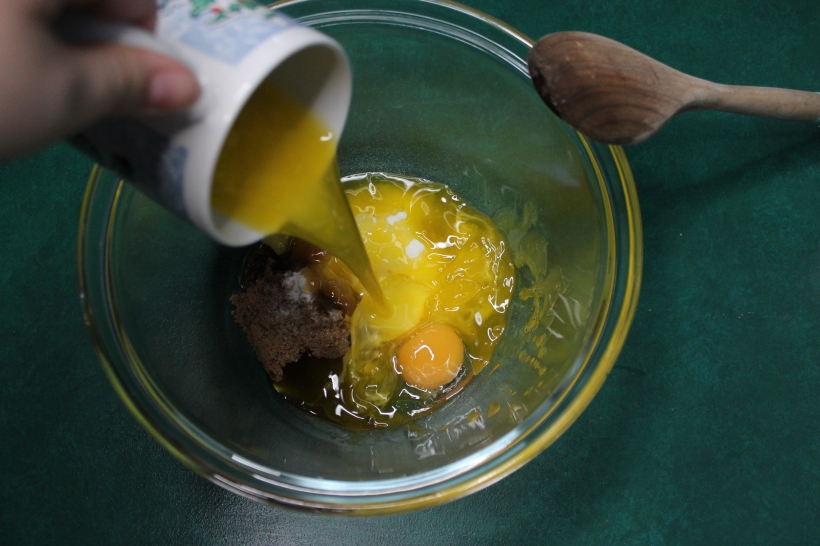
Step 4
Mix this all together first and then add 1.5 cups of plain flower 😉 to begin with.

Step 5
Feeling it out – you will need around another 1/2 to 3/4 cups of plain flour depending on how slimy your dough is. (I believe this also depends on where you live, if you’re in a cool climate your dough will most like stick together much better. I however, live in Brisbane where it hits 28 degrees Celsius by the time it’s 8.30am. I needed more flour!)
*Heres where you can add some chocolate chips into the mix, or maybe some sprinkles?!

Step 6
Use your hands or a rolling pin, or a baking tray to smooth out the dough. Don’t make it too thin as it’s harder for the forms to hold their shape. Cookies also burn quicker when they’re thiner. Plus, as I mentioned before….it’s Christmas, live a little.

Step 7
Oven around 180 degrees..ovens are funny things, they all have their own way of doing things. If 180 sounds like the depths of hell to your oven, go for 150 and just watch the cookies. Similarly if 180 sounds like hell has frozen over and left you to try and bake cookies for 1 hour, turn it up!! Ultimately these should take around 12 minutes, if you remembered to preheat the oven 😉 if not then you’re looking at around 18min.
*If you came here from step 1 – go back to step 2!
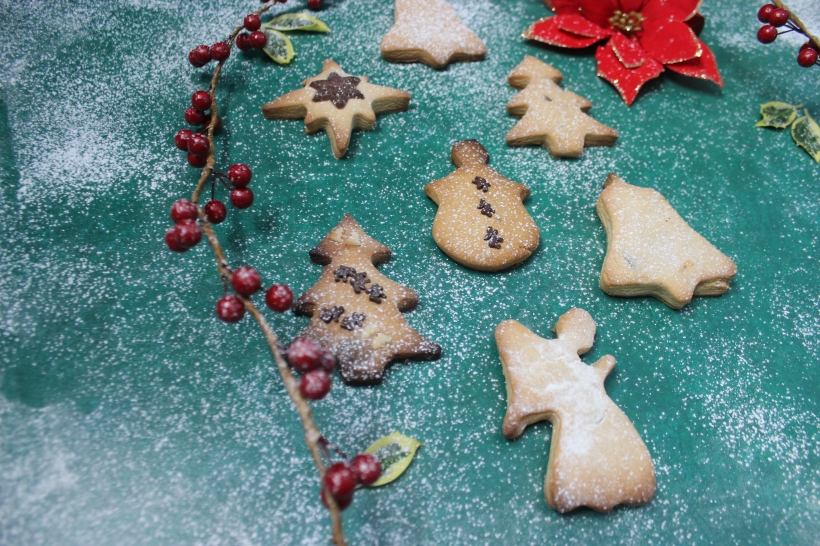
Step 8
Take your snowmen and Christmas trees out of the oven and once they’ve cooled down a little, I like to move them quickly up off the tray just to make sure they don’t stick when they cool down! Dust with icing sugar!
Step 9
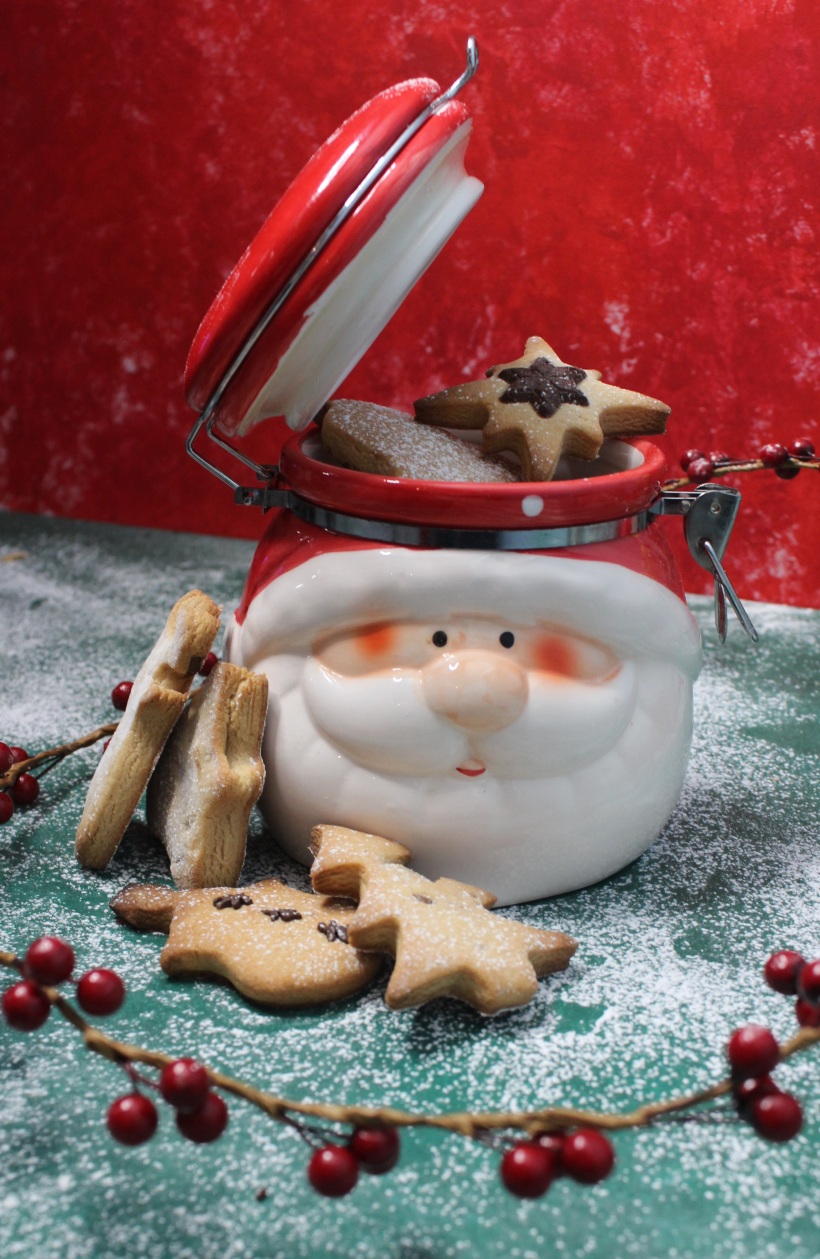
Perform a photo shoot with your cooki- oh wait, that’s just me! You can go ahead and eat!! Or wrap some up in some clear cellophane and pretty ribbon and you have a thoughtful (and quick) gift!

Hope you like the cookies and I hope you all have a Merry Christmas filled with lots of laughter! Make sure to follow my Instagram @demiurgedesign and also check out my YouTube ‘Marleen Sitchenko’ I will posting a lot more Christmas content in the coming weeks!! The background’s, once more, was from @stylingbackgroundsbrisbane – check us out!
Love Marleen xo
P.s Don’t forget the reindeers’ carrots 😉


Nice recipe
LikeLiked by 1 person
Thank you!
LikeLiked by 1 person
Thank you! Merry Christmas
LikeLiked by 1 person
Wow, these look great! I will have to try them. Thanks for sharing. This is an idea I am trying to spread this holiday season. https://www.youtube.com/watch?v=Hidlnk1NC10 If you like it, please share it. thanks, Rita
LikeLiked by 1 person
Thank you! Hope you have a wonderful Christmas!
LikeLiked by 1 person
You too! 🙂
LikeLiked by 1 person